Cinema 4D training
Cinema 4D
Our Cinema 4D training courses are taught by motion graphics expert, Angie Taylor – a motion graphic designer, author and illustrator with 25 years industry experience.
Choose from our standard two-day Cinema 4D training courses – all taught on a 1-2-1 basis. Or pick and mix modules from below to make up your own bespoke course.

Customer Reviews
Want to hear what our customers think of our courses? You can read reviews about our training courses here.
What we cover in our Cinema 4D training
There are two levels of Cinema 4D training available as well as custom courses. You can find example outlines of these courses by clicking on these links.
- Cinema 4D Fundamentals
- Cinema 4D Advanced
Each of these is a 2 day course
How does the training work?
Angie will send you an evaluation form that takes a few minutes to complete. This will give Angie an indication of the level of Cinema 4D training you require. She will customise the course to fit your own personal needs.
Evaluation form example
Your Instructor - Angie Taylor

All courses are taught by artist, Angie Taylor. Angie worked as a motion graphic designer for over 25 years.
She was a demo artist for Adobe and is an Adobe Community Professional. You can see examples of Angie's work here on her portfolio.
Angie is a lecturer at the Univeristy of Brighton. She has taught children and adults at several colleges, schools and universities.
Angie has several books & courses published on design & animation.
Course outline
Motion graphics designer Angie Taylor shows you how to build a complete sequence in C4D Lite, progressing from initial object modeling, to animation, lighting, camera rigging, texturing, and final render.
Learn to animate text, create random movement with wiggle expressions, track cameras in live-action footage to add new 3D elements, and light your scene.
We can also customise the course to suit your own specific needs covering other aspects of the Cinema 4D software like character rigging and animation, cloth dynamics, mograph features and more.
Cinema 4D & After Effects
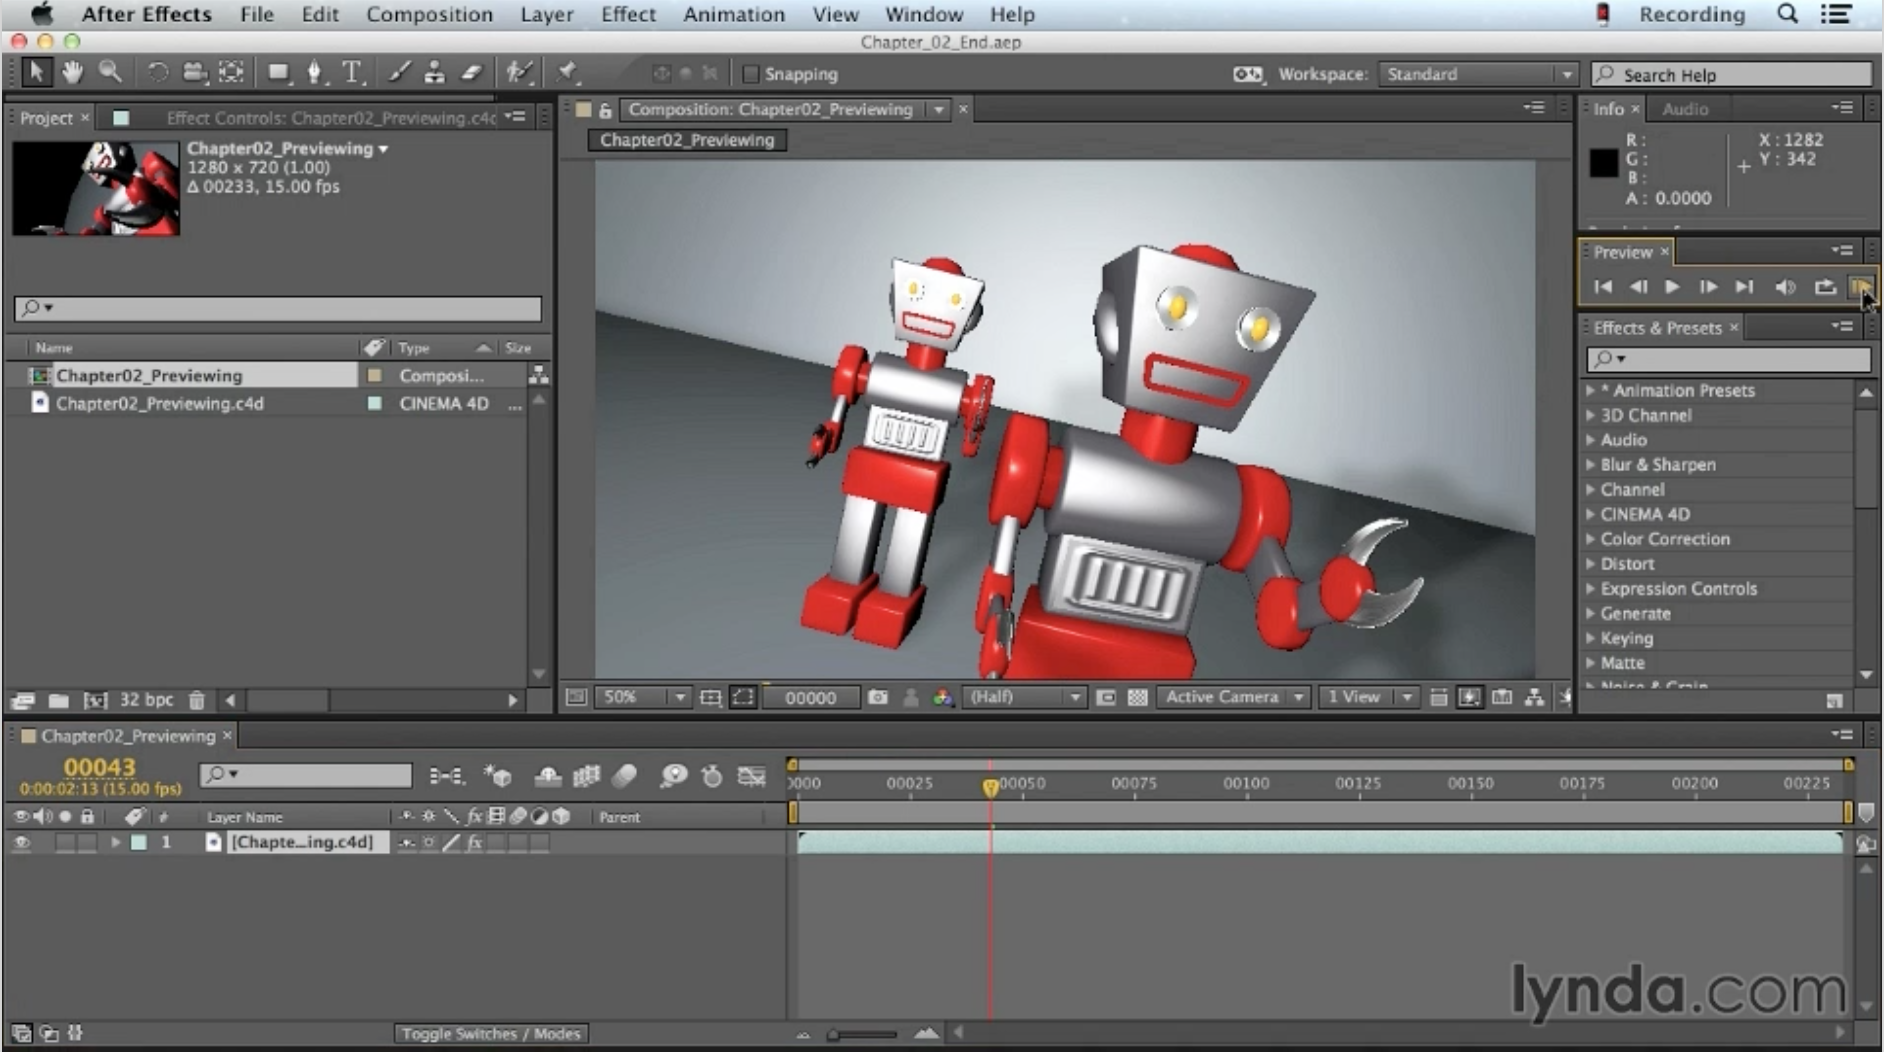
Angie also round-trips the project files to After Effects for visual effects and color correction. With over 100 videos, this course allows you to explore almost every aspect of 3D motion graphics creation, within this accessible introductory tool.
Topics include:
- What is CINEMA 4D Lite?
- Understanding the CINEMA 4D Lite and After Effects CC workflow
- Editing primitive objects
- Spline modeling with NURBS
- Animating with keyframes
- Using Xpresso to link properties
- Importing music and soundtracks
- Creating and animating cameras
- Working with text
- Scripting
- Creating and applying materials and textures
- 3D camera tracking
- Compositing layers
- Lighting with visible lights and ambient occlusion
- Adding visual effects in After Effects
- Rendering in After Effects and the Adobe Media Encode
Cinema 4D Fundamentals
What is CINEMA 4D?
- What CINEMA 4D can do
- Opening CINEMA 4D files in After Effects
- Quick interface tour
- Navigation tips for CINEMA 4D
CINEMA 4D Lite preferences and settings
- Checking out the new CINEWARE features with After Effects CC
- CINEMA 4D Lite and After Effects CC Workflow
- Importing CINEMA 4D files in After Effects
- The CINEWARE plugin settings
- CINEMA 4D Lite render settings
- After Effects project settings
- After Effects previewing tips
- Using the Picture Viewer in CINEMA 4D
Modeling in CINEMA 4D
- Editing primitive objects
- The Move and Scale tools
- The Rotate tool
- Axis limitations
- Working cylinders
- Linking body parts using object hierarchy
- Adjusting NURBS settings
- Using nulls as controllers
- Creating copies with the Instance array
- Carving shapes with the Boole array
- Reshaping objects with deformers
- Adding surface detail with a Relief object
Animating in CINEMA 4D
- Understanding coordinates
- Understanding rotation
- Timeline shortcuts
- Basic keyframing of properties
- Keyframe interpolation
- Adjusting F-Curves
- Holding values
- Using XPresso to link properties: Part one
- Using XPresso to link properties: Part two
- Importing existing animations into CINEMA 4D Lite
- Animating cameras in CINEMA 4D Lite
- Animating using presets
Cinema 4D Advanced
Working with Cameras in After Effects CC and CINEMA 4D
- Importing music and soundtracks
- Customizing commands and shortcuts
- Adding markers
- Creating multiple cameras in CINEMA 4D Lite
- Cutting between CINEMA 4D cameras with CINEWARE
- Creating cameras in After Effects
- Merging 3D camera data into CINEMA 4D Lite
- Animating cameras with Stage objects
- Extracting cameras from CINEMA 4D files
Working with Text in After Effects CC and CINEMA 4D
- Adding CINEMA 4D text to After Effects comps
- Formatting text in CINEMA 4D
- Creating CINEMA 4D text or logos in Illustrator
- Importing Illustrator text into CINEMA 4D Lite
- Applying material presets to text
- Merging CINEMA 4D files
- Registering CINEMA 4D Lite for MoGraph features
- Using MoGraph Fracture on text
- The MoGraph Random Effector
Scripting and Expressions in CINEMA 4D
- Creating a wiggle expression
- The Reset Position script
Materials and Textures in CINEMA 4D
- Applying a custom material
- Making a metallic material
- Adding an environment channel
- Adding texture with shaders
- Built-in material presets
- Combining materials
- Using selection sets to isolate surfaces
Creating Environments in After Effects CC
- 3D camera tracking in After Effects
- Creating nulls from tracking points
- Adjusting the Shadow Catcher for CINEMA 4D
- Importing a CINEMA 4D file into a scene
- Exporting CINEMA 4D files from After Effects comps
- Merging objects from CINEMA 4D files
- Manually adjusting scenes between apps
Layer-Based Compositing with CINEWARE
- Setting up layers in CINEMA 4D
- Compositing CINEMA 4D layers in After Effects
- Casting shadows on layers in CINEWARE
- Adding reflections in CINEMA 4D
Lighting Your Scene with CINEMA 4D
- Using preset lighting setups
- Light types in CINEMA 4D Lite
- Creating visible lights
- Adding ambient occlusion effects
- Optimizing your CINEMA 4D scenes
Multipass Compositing with CINEWARE
- Multipass compositing explained
- Adding passes to render settings
- Viewing passes in the Picture Viewer
- Adding object buffers
- External compositing tags in CINEMA 4D Lite
- Previewing and experimenting with passes
- CINEWARE multipass options
- Adjusting reflections
- Isolating elements with object buffers
Visual Effects with After Effects CC
- Extracting 3D scene data
- Adding video elements to a CINEMA 4D scene
- Working with proxies
- Color correction of shadows
- Layer styles
- Adjustment layers
- Setting up depth of field in CINEMA 4D Lite
- Adding depth of field with camera lens blur
- Speed ramps with time remapping
- Motion blur with the Pixel Motion Blur effect
Rendering in After Effects CC and Media Encoder


